When we add a new event to the calendar, beyond the theme and time we have provided, there are various details we can fill. Notes, attachments or event locations are just some of the examples and that's exactly what we're going to talk about today. Why? Because it allows us calculate travel time to get to your destination and receive notification when you leave.
The idea behind time travel is simple, once we've created an event to share travel time not added to its time. We can decide several fixed travel times or location usage to calculate it. Let's go into details.
How to use it It's time to leave on our iPhone or iPad
It's very simple. First we will create an event and travel time where we will choose length by hand. The steps are as follows:
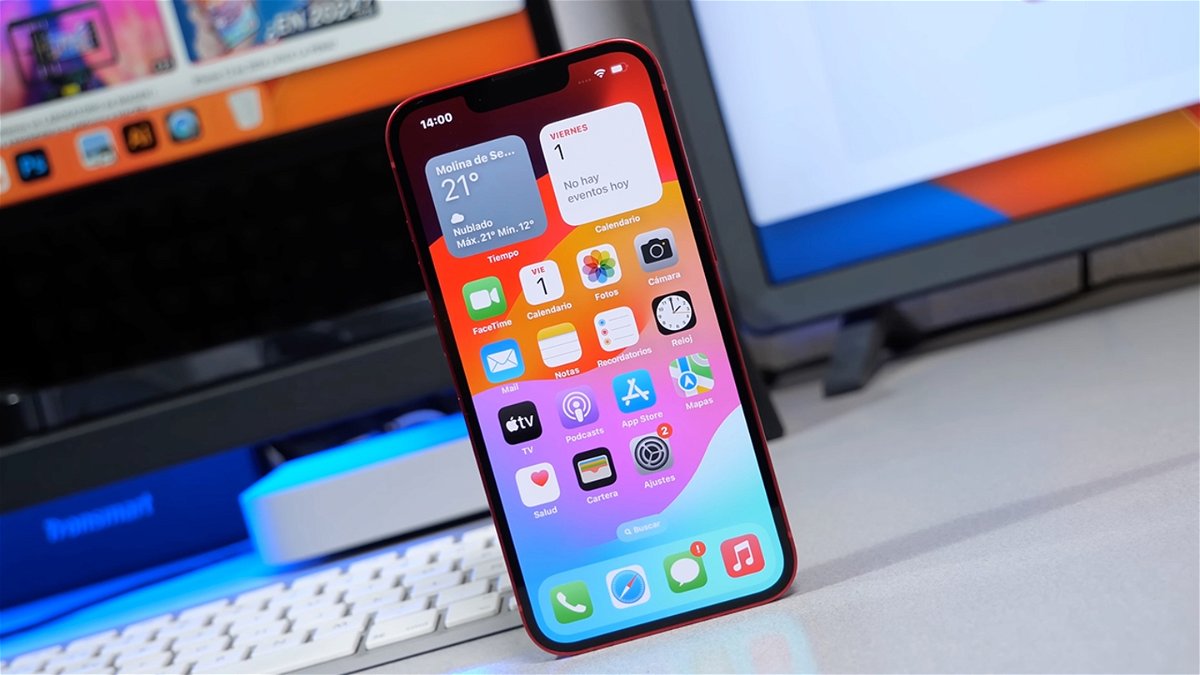
- We open the app Calendar on our iPhone or iPad.
- We're touching "+" to add a new event.
- We write the name and select the time of the event.
- We touch It's time to leave.
- We're working It's time to leave.
- We choose between 5, 15 or 30 minutes or 1, 1.5 or 2 hours.
- We're pressing <Go back.
- We're pressing All right.
By looking at this option we are now creating an event there for travel time calculated based on event location. The steps are very similar.
- We open the app Calendar on our iPhone or iPad.
- We're touching "+" to add a new event.
- We write the name and select the time of the event.
- We touch Location and we choose or look for a place that we like.
- We touch It's time to leave.
- We're working It's time to leave.
- We touch First place.
- We choose our destination when we first attend our event.
- We choose Depending on the location in the timeline.
- We're pressing <Go back.
- We're pressing All right.
Doing this way, in addition to being an app that counts the time needed to attend the event, will have several benefits. The first is, by default, an app you will schedule a notification as to when it should go
In addition, and depending on the place and the destination, we can choose to count travel time by car, on foot or by public transport. If we need to make sure that the notification goes to travel time it works we can test it in the section Be careful either Second notice.
It should be noted that, although the ones we have just seen are complete steps, by default our iPhone or iPad sets a warning to travel time as soon as we assign an event location. That is, even though travel time may not be recorded correctly on the calendar, we can simplify the process to create an event> select name, place and time> press All right.
How to use it It's time to leave on our Mac
On our Mac we can also schedule events with travel time it worked. The steps, similar to those we take on our iPhone or iPad, are as follows:
- We open the app Calendar on our iPhone or iPad.
- We're touching "+" to add a new event.
- We write the word.
- We book or search the event venue (optional if we want to use a pre-determined travel time).
- We tap on the category and time period to display your options.
- Introducing event time.
- We touch It's time to leave.
- We choose one of the default options or ones that our Mac lists based on our location.
- We tap without a pop-up to finish creating the event.
As with the iPhone or iPad, we can simplify the process if we just want to be informed at the time of travel other than the travel time specified in the calendar. In this case the steps are as follows:
- We open the app Calendar on our iPhone or iPad.
- We're touching "+" to add a new event.
- We write the word.
- We write or search the event location.
- We tap on the date and time category to show its options and enter the event time.
- We tap without a pop-up to finish creating the event.

It's that simple. With these steps we can add travel time to the calendar event. It is good to remember that we have to leave the line between different events on the busiest days. In addition, if we only need reminders during travel, with simplified steps we can easily and quickly find them.